Preparing For Launch
😎 Calling All Early Access Users
Most folks are likely familiar with the concept of a Beta program or Early Access. It's where users can opt-in to get notified about upcoming changes or see early releases. But how do organizations implement these programs and how do we ensure that only those that signed up for the early access program get early access?! 😵
One answer is, of course, LaunchDarkly!
As you might have guessed, we first need to create a flag that will help us slowly roll out our new Goggle product line.
Step 1: Create a new flag in LaunchDarkly with the following values:
Flag Name: New Product Experience Access
Flag Key:
Type: String
Description: optional, if you would like to add
Tags: optional, if you would like to add
Client-Side SDK Availability:
Variations: Variation 1:, Variation 2:
Important Note
This flag key must use dashes instead of camelcase. There are some specific app configurations that require this.
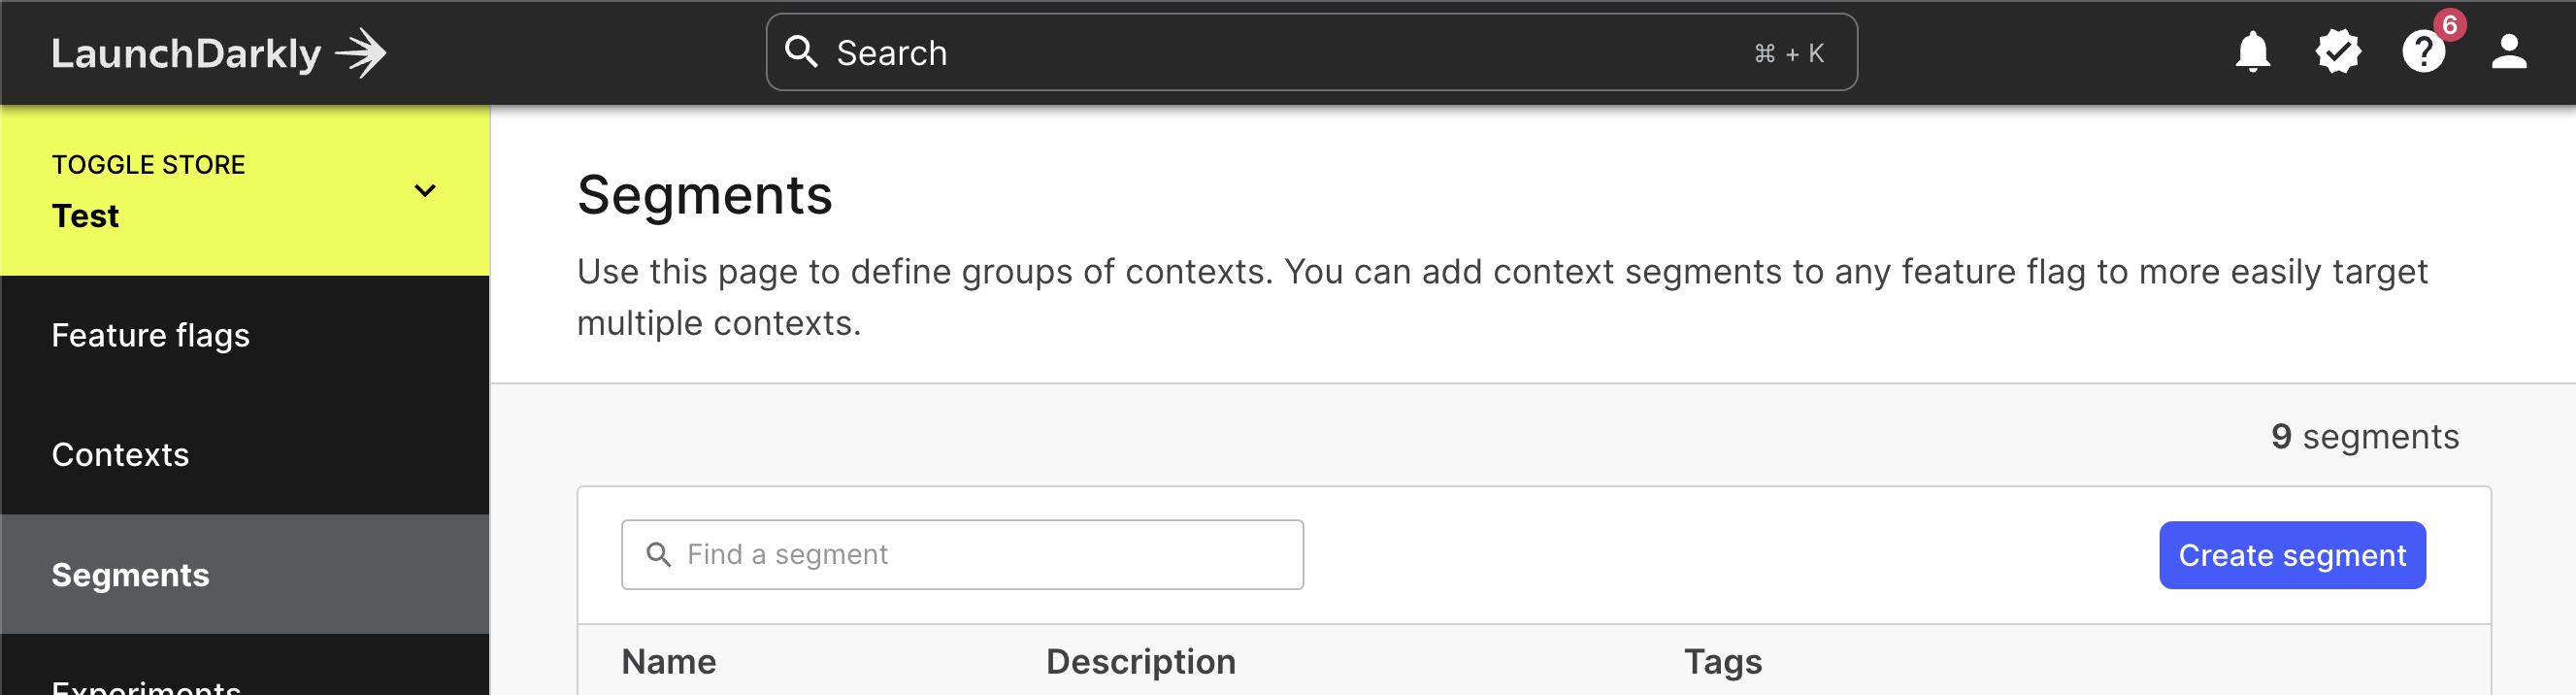
Step 2: Next we're going to be using segments again, but this time it'll be a little different. We're going to use segments to control user entitlements. To get started, go back to your segments in LaunchDarkly.
Step 3: Click on the button to create a new Segment:
Step 4: Create a segment called Beta Users, fill out the description however you want and save. When you've created the segment, open up the options and create the following rule and save:
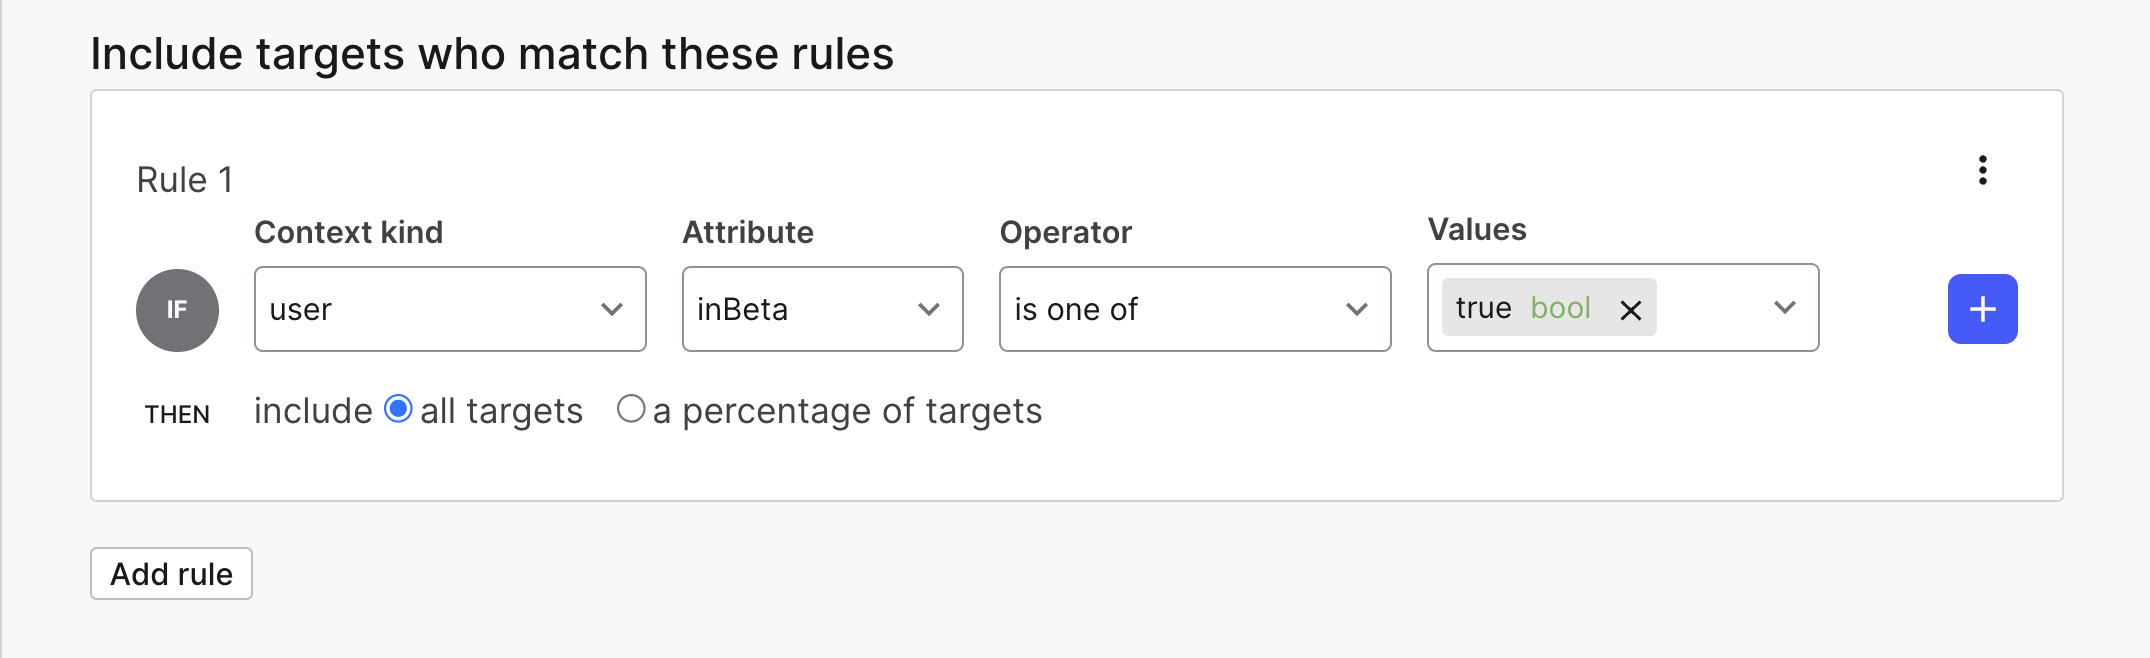
Note that you should be able to select inBeta as an attribute, and you can manually type in true as the value. This rule is going to automatically add any users that opts into our Early Access Beta program. This will let us serve those users specific variations without having to use their actual usernames! We do this by targeting the specific value of an attribute. We'll touch on those in a minute.
📙 Updating our Product Catalog
Now that we have the foundational pieces for our beta testers setup, the first thing we need to do is open access to the new product catalog. 👓
Step 1: Locate the inventory.tsx file in the /src/components directory. Check the useFlags function at the top to ensure that we're calling the newProductExperienceAccess flag.
Why is the flag not using dashes here?
Good question! It's because this is a React application. In React, variables, like the ones that are storing our flag values, need to be in camel case. Don't worry, LaunchDarkly understands this and will provide the app with the correct flag value!
Step 2: Next, we're going to update our API to return goggles when our feature is enabled for the target audience. Open the product.ts file in the /src/pages/api/ directory. This file controls what products get returned from the products API.
Replace the code between the comment blocks with this code:
// this function retrieves our product catalog from the Stripe API based on our flag values.
// If you want to see the flag evaluations, check out the `/src/utils/product-helpers.ts`

if (req.method === "GET") {
    if (enableStripe) {
    retrieveProducts(req, res)
  }
  else {
      return res.json(product);
    }
  }
With this code in place, we're ready to start using Release Targeting to control how our users experience our application. Let's first start with our excited Beta Users!